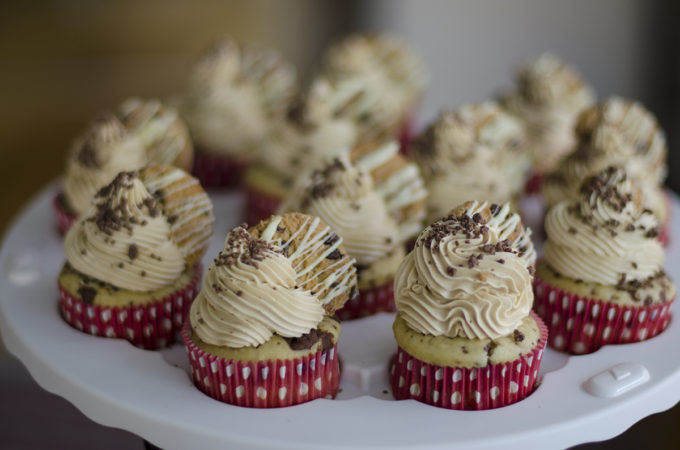
This perfect crème brûlée is a winning dessert. Not only because it’s loved by so many people, but also because it’s not too heavy after a big meal and simple but precise in taste. I love planning this in as a dessert because you can make it in advance, even freeze it, and just finish with the final touches right before serving.

Jewish New Year Holiday
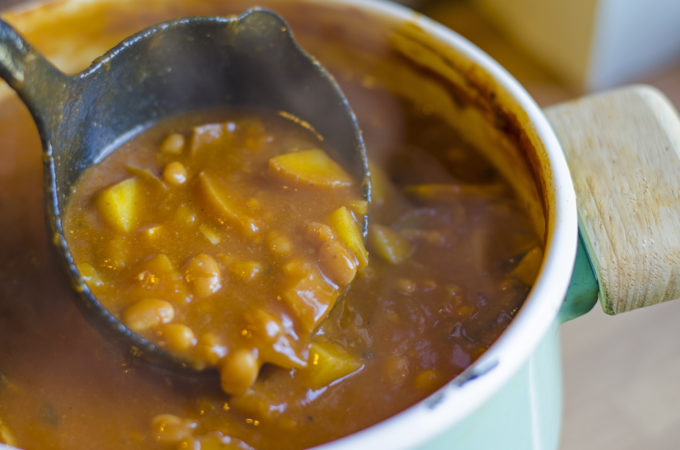
Last month we celebrated Rosh ha Shana, which is the Jewish new year. We had a few friends over to celebrate and built a traditional Jewish holiday meal (vegetarian and partly vegan). And by traditional Jewish, I mean A LOT of food 🙂
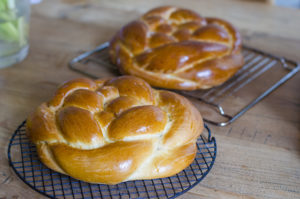
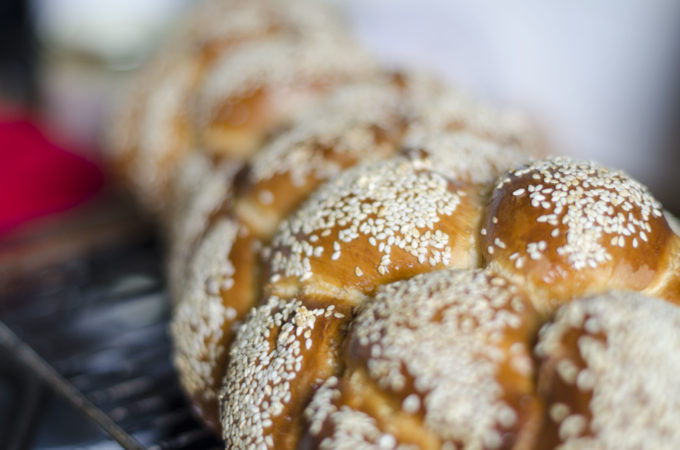
Normally dessert for this holiday would include some honey, as it’s traditional to eat honey at the Jewish new year to express the sweetness we wish to have in the new year to come. But, I was really craving crème brûlée for dessert, so instead I made a fresh round honey challah to accompany the meal, it’s so soft and perfect for dipping into gravy (Recipe here)
What is Creme Brulee?
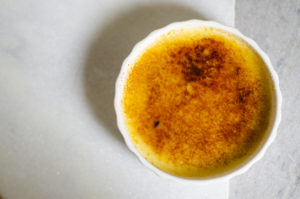
Crème brûlée is a classic french dessert. In french, crème brûlée means burnt cream, it’s a vanilla custard with a layer of caramelized sugar on top. The sugar coat is very crispy and gives this dessert a lovely interactive” experience when breaking it with a teaspoon. The custard is very smooth with a deep vanilla taste and delicate sweet aroma. While crème brûlée is traditionally flavored with vanilla, it can also have a variety of other flavorings.
Technique
Crème brûlée is usually served in individual ramekins, which are baked in a water bath in the oven. This creates a creamy custard consistency which is paired perfectly with the crispy caramel layer. The caramel layer may be prepared separately and put on top of the custard just before serving. But I personally prefer to sprinkle the sugar on top of the custard and caramelize immediately before serving.
The caramelization is done using a kitchen torch, it can also be done in the oven on grill mode, but I never tried this myself because I am concerned that the custard itself gets warm, a kitchen torch is relatively cheap and can be of use in many other occasions in the kitchen. I got this one for $17.99.
How to make it
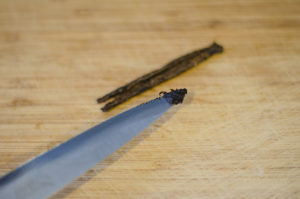
Start by heating up your oven to 150C (F) and bring some water to a boil. Then, in a large sauce pan, add cream and split a vanilla bean in half, scrape out the seeds and add the seeds and bean to the cream.
Add half the sugar in there too and heat over medium heat to infuse the cream with the vanilla, make sure not to boil. Small bubbles should form on the edges to let you know it’s reached the correct temperature. This takes about 7-8 minutes.
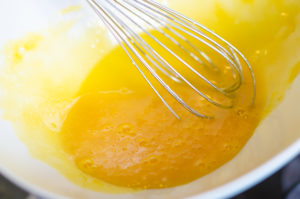
Meanwhile, whisk egg yolks with the remainder of the sugar and salt, don’t do this too far in advance so the sugar wont “burn” the yolks and have them clump up. While the cream is heating is fine.
When the cream reached it’s temperature, remove from heat and add one ladle of cream into the egg yolk mixture. Mix quickly to match temperatures, this is called tempering the eggs.
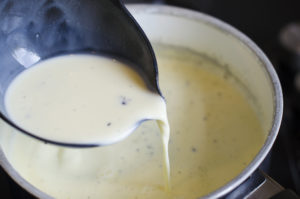
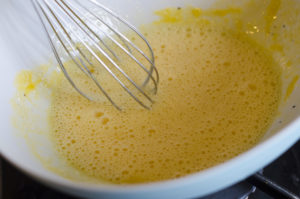
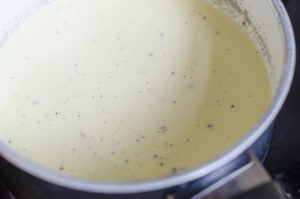
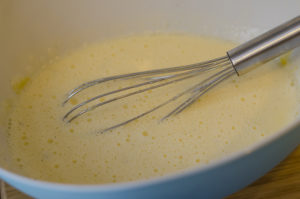
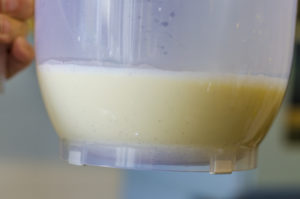
Repeat this two more times, whisking well after every addition. Then add the rest of the cream and whisk until you have a beautiful pale egg and cream mixture
Strain through a fine sieve to remove vanilla pods and egg clumps
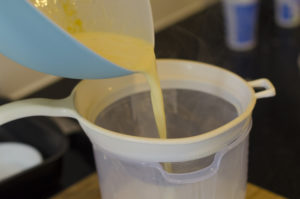
Just look at all those millions of vanilla seeds in there
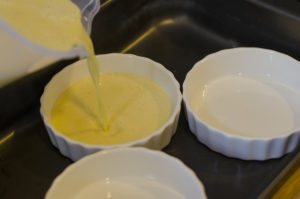
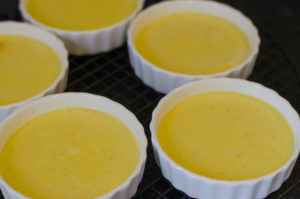
To cook this into a gorgeous custard, prepare a large roasting pan and add the dishes into it. Pour the cream into the dishes almost till the top
Then carefully pour the boiling water into the roasting pan to about half way up the dishes. You might want to do this while the pan is already in the oven so it won’t spill when placing it in there.
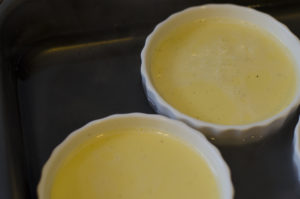
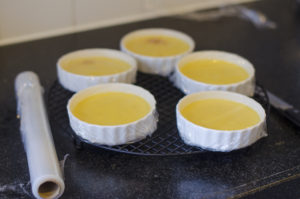
Bake for 30-40 minutes until the edges are firm but the middle a bit wiggly when jiggled. Allow to cool completely at room temperature.
Wrap each ramekin with saran wrap and place in the refrigerator for 2 hours minimum or up to 3 days. You can also freeze the chilled crème at this point and it will be fine up to 6 months. Then a few hours before serving, take the crème out and let stand at room temperature until thawed.
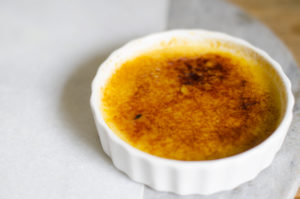
When ready to serve, sprinkle 1-1 1/2 tablespoons of sugar on top and move it around to make sure it distributes evenly. Use a kitchen torch from a small distance (not too close) to burn the top, move the torch around to reach the entire surface, this might take a few minutes. You are finished when you have a beautiful caramelized color spread evenly. Let it sit for 10 minutes to cool completely before serving, otherwise the sugar will still be too warm and not crispy.
I’m very curious what you’ll think. If you made this, please take a picture and tag me on Instagram @kerenruben or Facebook Keren’s Kitchen and let me know if you’ll be making this again
- 960ml (4 cups/928gram) heavy cream
- 150gram (3/4 cup) sugar (divided into two - 75g each)
- 1 Vanila Bean
- 7 Large egg yolks
- ¼ tsp salt
- 150gram (3/4 cup) sugar
- Preheat oven to 150°C (300°F) and bring water to a boil
- In a large sauce pan, add cream, half the sugar (75g) and split vanilla bean (split it in half, scrape out the seeds and add the seeds and pod to the cream)
- Heat over medium heat to infuse the cream with the vanilla. Do not to boil, small bubbles should form on the edges of the pan when it reaches the right temperature, about 7-8 minutes.
- Meanwhile, whisk egg yolks with the remainder of the sugar (75g) and ¼ tsp salt. Don’t do this too far in advance so the sugar wont “burn” the yolks and have them clump up.
- When the cream reached it’s temperature, remove from heat and add one ladle of cream into the egg yolk mixture, whisk quickly to even the temperatures between the cream and eggs.
- Repeat this two more times, whisking well after every addition. Then add the rest of the cream and whisk for a minute until you have a beautiful pale egg and cream mixture.
- Strain through a fine sieve to remove vanilla pods and egg clumps that might have formed
- Prepare a large roasting pan and place the ramekins in it. Divide the cream evenly between the ramekins
- Carefully pour boiling water to about half way up the dishes. You might want to do this while the pan is already in the oven so it won’t spill when carrying it into the oven
- Bake for 30-40 minutes until the edges are firm but the middle still wiggly
- Carefully remove from the pan and allow to cool to room temperature
- Wrap each ramekin with saran wrap and place in the refrigerator for 2 hours minimum or up to 3 days
- When ready to serve, sprinkle 1-1½ tablespoons of sugar on top and move it around to make sure it distributes evenly. Use a kitchen torch from a short distance to burn the top, move the torch around to reach the entire surface. You are finished when you have a beautiful caramelized color that is spread evenly across.
- Let cool for 10 minutes before serving to allow sugar to harden.
It is unclear how to divide the sugar in this recipe!
Thanks so much for your suggestion, Jen! I’ve updated the topping with a bold headline, it should be clearer now. Thanks a lot 🙂
Still unclear as to how much sugar you save for the egg yolk portion. Please let me know how much to set aside! Tx
75grams! Good luck <3
Yes, as above has mentioned …you do not say how much sugar goes into the cream and how much sugar goes into the yolks??
The sugar for the topping is clear.
Please clarify, thanks!
Thanks Nola, I just added the exact measurements so there’s no confusion. Let me know how it goes, you can always message me through the contact page and I reply asap!
Caution: this recipe needs a little interpretation! The sugar should be split between the cream and the eggs. It doesn’t mention when to add the salt and it took me about 50 mins to bake. Be sure to read everything before trying!
Thanks for noticing the salt, Jen! And sorry if it wasn’t super clear, I appreciatte you taking the time to carefully read. I just updated with exact grams of sugar to add in each part of the recipe, hope it’s crystal clear now! Oh and it’s always good to keep an eye when in the oven as different ovens sometimes reach different temperatures.
Many errors. Not something you can cook and serve. When making a desert, most want one they can use straight away. Not something to refrigerate for 3 days for perfections…
Hi Dane! Please read the recipe again, the ramekins go in the fridge for 2 hours 🙂 You CAN leave them in there for three days, but that’ only if you want to make in advance. When hosting big dinners this can prove as a real advantage.
Making this tonight! I love that you can make it ahead of time!
Yay! how did it go? I hope it was delicious!
Great recipe – easy to follow instructions, came out perfectly. Thanks!
Thanks a lot Jess! 🙂
I’m don’t have vanilla beans, how much extract would I use? I’ve made it before with the bean , it’s easy and delicious.
Sorry Jim, just saw this now! I would use a tablespoon of vanilla paste (or extract, but preferably paste). Enjoy!
Keren, thank you so much for keeping this blog alive (although I personally do regret that you don’t publish anything new anymore). I love to come back to your recipes, even after so many years. They are really top notch. Just made these delicious creme brulee again. They look yummy but need to wait until tomorrow night :)) Greetings from Poland!
Thank you so much Patricia! Your comment really brightened my day! I do wish I had more time to upload new recipes, I do share a lot of them on my Instagram when I can! It’s @kerenruben – but still I’d love to bring them here to neatly index them all. Thanks for coming back to these recipes and thank you SO much for taking the time and effort to leave a good word 💜 Happy new year all the way to Poland! If you ever come by Amsterdam I’d love to invite you for a coffee 🙂
Happy New Year to you too, Keren! I didn’t know you had an active IG account, I will then follow you there (although I’m not really such an active user) 🙂 Thanks for the invite, that’s so sweet of you. Cheers to the new recipes!