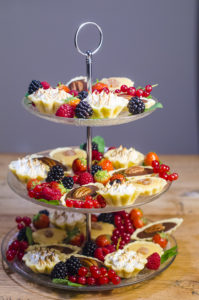
Having a wining Tart Crust recipe really makes my dessert life a lot easier. I can make a big batch of dough, many beautiful little tart bases and fill them in with different fillings for a beautiful, colorful dessert plate.
Variations
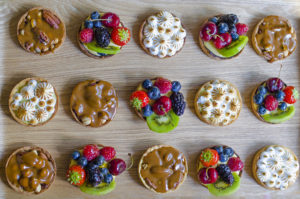
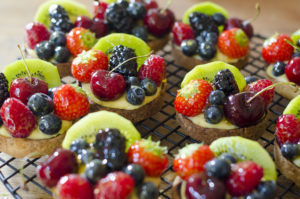
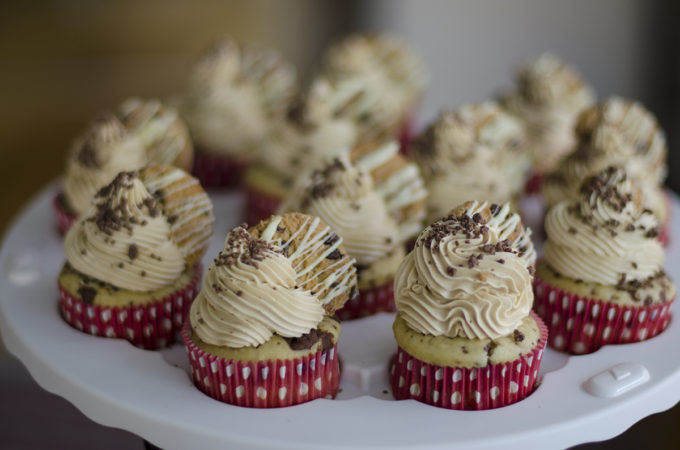
The variations are endless. You can use mini bite-sized tart bases like above and decorate with fruit around them or you can use medium ones with all sorts of colorful and delicious variations. Some take more work that others, and during the next few weeks I am going to give you a few recipes for knock-out dessert tarts
What tart size are you going to use?
You can make a big 28cm (11 inch) tart, 2x 19.5 cm (8 inch) or about 12x 6.5cm (2.55 inch), or even about 40 of the mini ones in the first picture, but I wouldn’t recommend them for this specific recipe. In some of these pictures, I was practicing with my new Valrhona Perforated Tart Rings, I really recommend getting these rings if you want beautiful flat round edges that are perfectly baked all around. I’ve been wanting them for a while but they were hard to find, until my friends at Duikelman, my absolutely favorite kitchen supply store in Amsterdam brought them in. I’m now saving up to order some more sizes and shapes 🙂
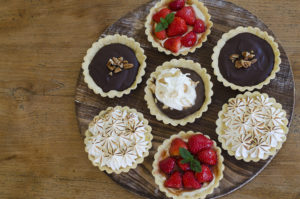
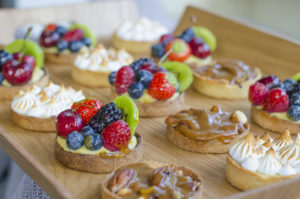
The first two on the blog are also my favorite tarts, my famous Lemon Meringue Pie and my Pear and Almond Cream Tart – These two are my top requested tarts, together with an incredible Honey Caramel Nut Mix and a Hazelnut Chocolate Praline which I will be adding to the blog soon!
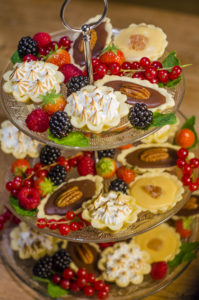
But today I am going to share one that looks the most beatiful. One that always get’s a “wow” out of others and brings the color and vibrancy to the dessert plate… *drum-rolls* It’s the Fruit Tart Crème Pâtissière!
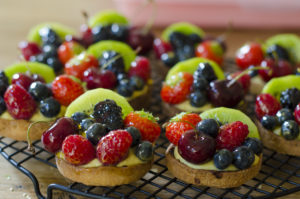
The most important ingredient for this tart is fresh fruit, I like to have a combinations of colors and choose fruit that will not “bleed” out until served. In this case I went for kiwi, small strawberries, raspberries, blue berries, black berries and beautiful cherries.
What’s great about these, is that I make it in phases so all the work doesn’t just ambush me at the day of preparing, I can make the tart shell before, the Crème Pâtissière in advance and build it all up together the same day.
Fight the mushiness!
The one thing I always didn’t like about these when bought in bakeries is that the crust had been mushy and soft, lost the crunch and always a bit disappointing. If you keep on reading, you’ll see my secret to preventing that from happening
Where to start
You can use my lovely Easy Home made Pie & Tart Crust recipe here to kick it off, I normally make these a day in advance
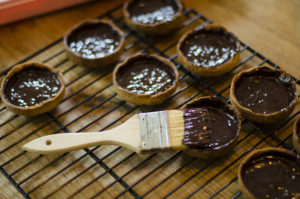
Here’s one of the best tips I can give you, my secret to keeping the crust flaky, crunchy and fresh (even if not served at the same moment). Brush it with melted chocolate! Yes, just melt some dark chocolate in microwave pulses and brush the inside. The chocolate will harden and will form a protective shell, allowing the tart shell to remain crunchy and not become soggy when added with there creme and fruit.
Crème Pâtissière
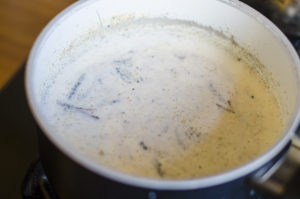
Start by cooking milk and half a vanilla bean, cut length wise and seeds scraped into the milk too
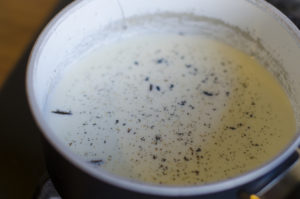
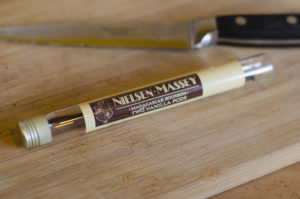
I personally love using Nielsen Massey Vanilla Beans but if you don’t have a vanilla bean you can also use Nielsen Massey’s Vanilla Paste – I love this vanilla from Madagascar, vanilla is such an important ingredient, especially with crème pâtissière and it’s the only one I use.
Bring the milk and vanilla to a boil and remove from heat. Let sit for 15 minutes to allow flavors to meld together.
Meanwhile, mix sugar and egg yolks together
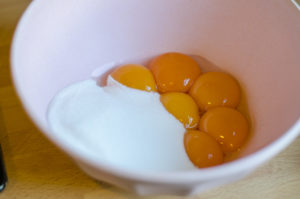
Mix in Cornstarch

Mix well until no lumps and thick consistancy

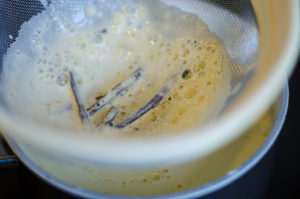
Next, strain the milk from the vanilla beans into a medium sauce pan, make sure the squish all those seeds through the sieve
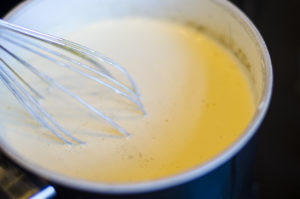
Add a bit of the egg mixture in the same sauce pan and mix well, then all the rest and set on medium-low heat
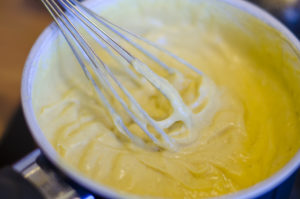
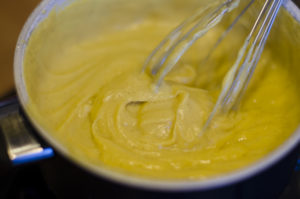
Stir contentiously for about 5-8 minutes, until the texture is very thick
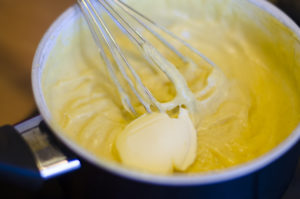
Remove from heat, add in butter and keep mixing until completely dissolved
The end result should look like a thick yellow custard with an incredible vanilla fragrance
Transfer to a clean bowl and let cool for a few minutes
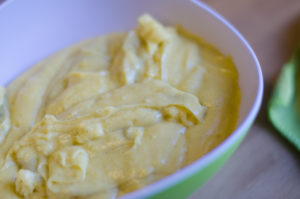
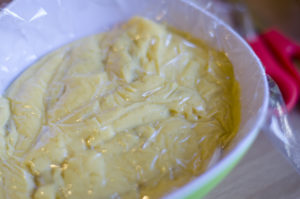
cover with seran wrap, assuring the plastic touches the entire surface of the cream to prevent a skin forming
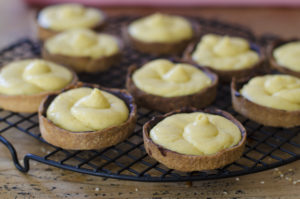
Refrigerate until ready to use. Once ready, transfer to a piping bag and pipe in your pre-made tart shells
Then, organize your fruit on top any way you like. To give it such a nice gloss, I make a nappage from apricot glaze. Melt some apricot jam in a small sauce pan. Strain. Add a little bit of water and brush the fruit from the top. Keeps it glossy and fresh!
- 245g (8.6oz) All Purpose Flour
- 40g (1.4oz) Ground Almonds (Almond flour)
- 75g (2.6oz) Powdered Sugar
- 170g (6oz) Cold Butter, cut in cubes
- 1 Large Egg
- 100g (3.5oz) dark chocolate
- 2 Cups whole milk (490g / 17.2oz)
- ½ Vanilla Bean
- 6 Egg Yolks
- ⅔ Cup Sugar (130g/4.50z)
- ¼ Cup Cornstarch (30g/1.1oz)
- 1 Tablespoon unsalted butter, cold (14g/0.5oz)
- 2 Kiwi's
- 100g (3.5oz) Raspberries
- 100g (3.5oz) Blueberries
- 100g (3.5oz) Blackberries
- 100g (3.5oz) Strawberries
- 150g (5oz) Cherries
- 200g (70z) Apricot Jam
- 1 Tbsp Water
- In a food processor, put together the flour, ground almonds and powdered sugar until fine powder
- Add butter cubes and pulse a couple times, until a chunky, sandy texture (we want small pieces of butter to remain visible)
- Add Egg and pulse a few more times until you see it’s formed into big pieces of soft dough
- Combine the dough together with your hands into a disk and wrap it with saran wrap, do it quickly so the butter doesn’t melt from the warmth of your hands. Place in the fridge for at least 30 min (or up to 3 days)
- Heat oven to 180 C
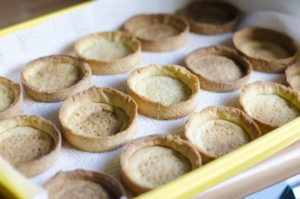
- I used 12x 6.5cm (2.55 inch) tart rings but read the post to see more options
- Flour you surface and roll out your dough to about 3mm thick. Gently pick up the rolled though and line your pie pan with it, pushing the dough into the corners with your thumb.
- Poke the dough with a fork all around the bottom and place it back in the refrigerator for an additional 30 minutes.
- Blind Bake for 15 minutes, remove the pie weights and bake for another 10 minutes.
- Cool completely before filling or removing from the pan
- Cut the dark chocolate and place in a heat proof bowl. Pulse for 30 minute intervals in the microwave until completely melted
- Brush the inside of the tart shells and set aside
- In a saucepan bring milk and scraped vanilla bean to a boil. Take off of heat and let the vanilla soak in for 15 minutes, set aside.
- In a separate below whisk egg yolks and sugar together until light and fluffy. Add the cornstarch and whisk a bit longer until smooth with no clumps, set aside.
- After 15 minutes, sieve the milk removing the vanilla pods and mix ¼ of it in the egg yolk mix, stirr well. Then add the remaining milk and stirr in completely.
- Transfer everything to a small sauce pan and cook over medium-high heat, whisking constantly until slowly boiling and thickened. Remove from heat and add cold butter, stir until completely combined.
- Let cool for a 5 minutes and cover with seran wrap, allowing the wrap to touch the creme itself all over the surface to prevent skin from forming
- Refrigerate up to 24hrs before use.
- When ready to fill the tarts, stir the Crème Pâtissière and transfer to a piping bag, cutting the edge.
- Fill all tart shells until ¾ full
- Arrange the fruit on top, i prefer to peel the kiwi and slice it but every design goes
- Melt the apricot jam in a small sauce pan and run through a sieve making sure there are no fruit pieces. Add 1 Tbsp of water and mix well together
- Using a brush, brush above and around all fruit to make sure they are completely coated
- Keep refrigerated and remove from the refrigerator 10 minutes before serving
Leave a Reply